How To Create a Self-Signed SAN Certificate - The Easy Way


For a current project, I'm developing an ASP.NET Core 2.1 based multi-tenancy Web API.
To test locally, I added some domains to my hosts file:
127.0.0.1 product.local
127.0.0.1 tenant-a.product.local
127.0.0.1 tenant-b.product.local
In the HTTP scenario, this is working out of the box.
ASP.NET Core comes with a dev certificate for local HTTPS development, which is working well, if you use https://localhost.
But in my case, I wanted to the use the tenant URLs like https://tenant-a.product.local.
If you try that, sure, you get a message, that the common name localhost does not match tenant-a.product.local.
The first way, I thought, to solve the problem is to create my own certificate using a wildcard Common Name.
So, I created one using *.product.local.
Using Safari or Firefox, this worked as well, but not in Chrome 58+ (just Chrome from now on).
But in Chrome, you get the subtle message NET::ERR_CERT_COMMON_NAME_INVALID.
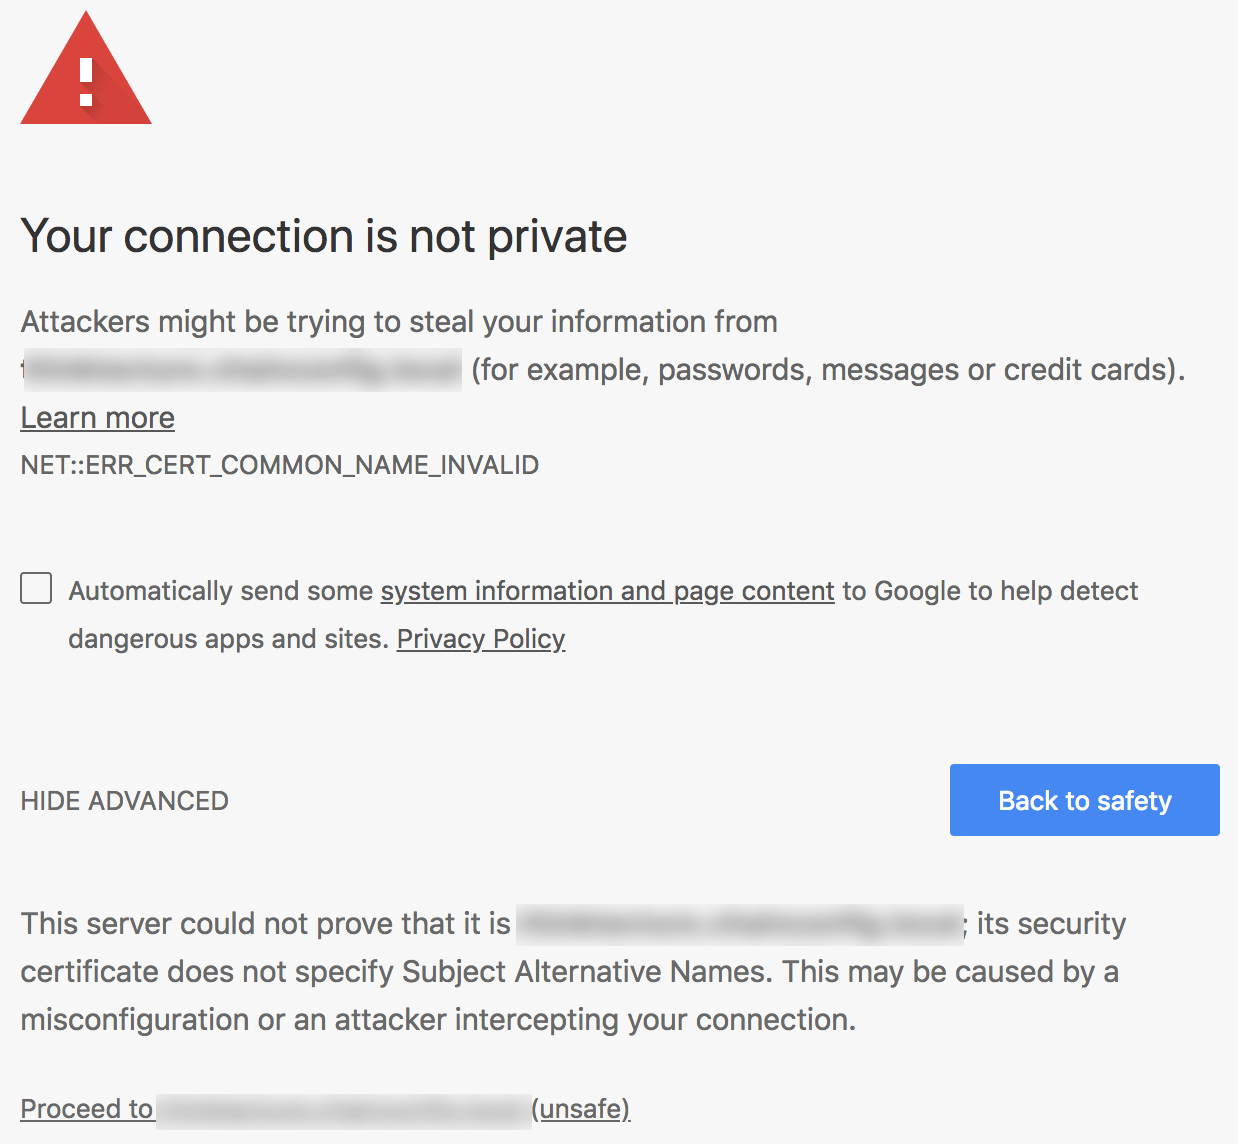
Whoops.
Since Chrome 58+ the support for Common Name got removed and you need to provide the Subject Alternative Name (SAN).
When searching for solutions, there's a lot of stuff out there.
From complex OpenSSL commands to creating your own Root Certificate Authority, there's everything.
Thanks to a post from bcardarella on Server Fault the solution is super easy.
I just wrap it up here, including a code snippet on how to use it in ASP.NET Core, so all kudos for the OpenSSL stuff goes to bcardarella.
Before we start, please note, that this is for development only. Do not use the generated certificates in production!
Create the certificate
At first, create a file called createCertificate.sh with the following content:
#!/usr/bin/env bash

openssl req \
    -newkey rsa:2048 \
    -x509 \
    -nodes \
    -keyout server.key \
    -new \
    -out server.crt \
    -subj /CN=*.product.local \
    -reqexts SAN \
    -extensions SAN \
    -config <(cat /System/Library/OpenSSL/openssl.cnf \
        <(printf '[SAN]\nsubjectAltName=DNS:product.local,DNS:tenant-a.product.local,DNS:tenant-b.product.local')) \
    -sha256 \
    -days 3650

openssl pkcs12 -inkey server.key -in server.crt -export -out server.pfx
If you need more tenant names, add them in line 14 (within the printf command).
The first openssl command will create the certificate, outputting two files: server.key and server.crt.
The second openssl command will combine both files into a .pfx file which we'll use later in ASP.NET Core. It will ask you for a password which you can choose freely. I simply used thinktecture since its only a development certificate.
After saving the file, run it via sh createCertificate.sh. If you want, you can also do chmod +x createCertificate.sh and run the file via ./createCertificate.sh. It's up to you.
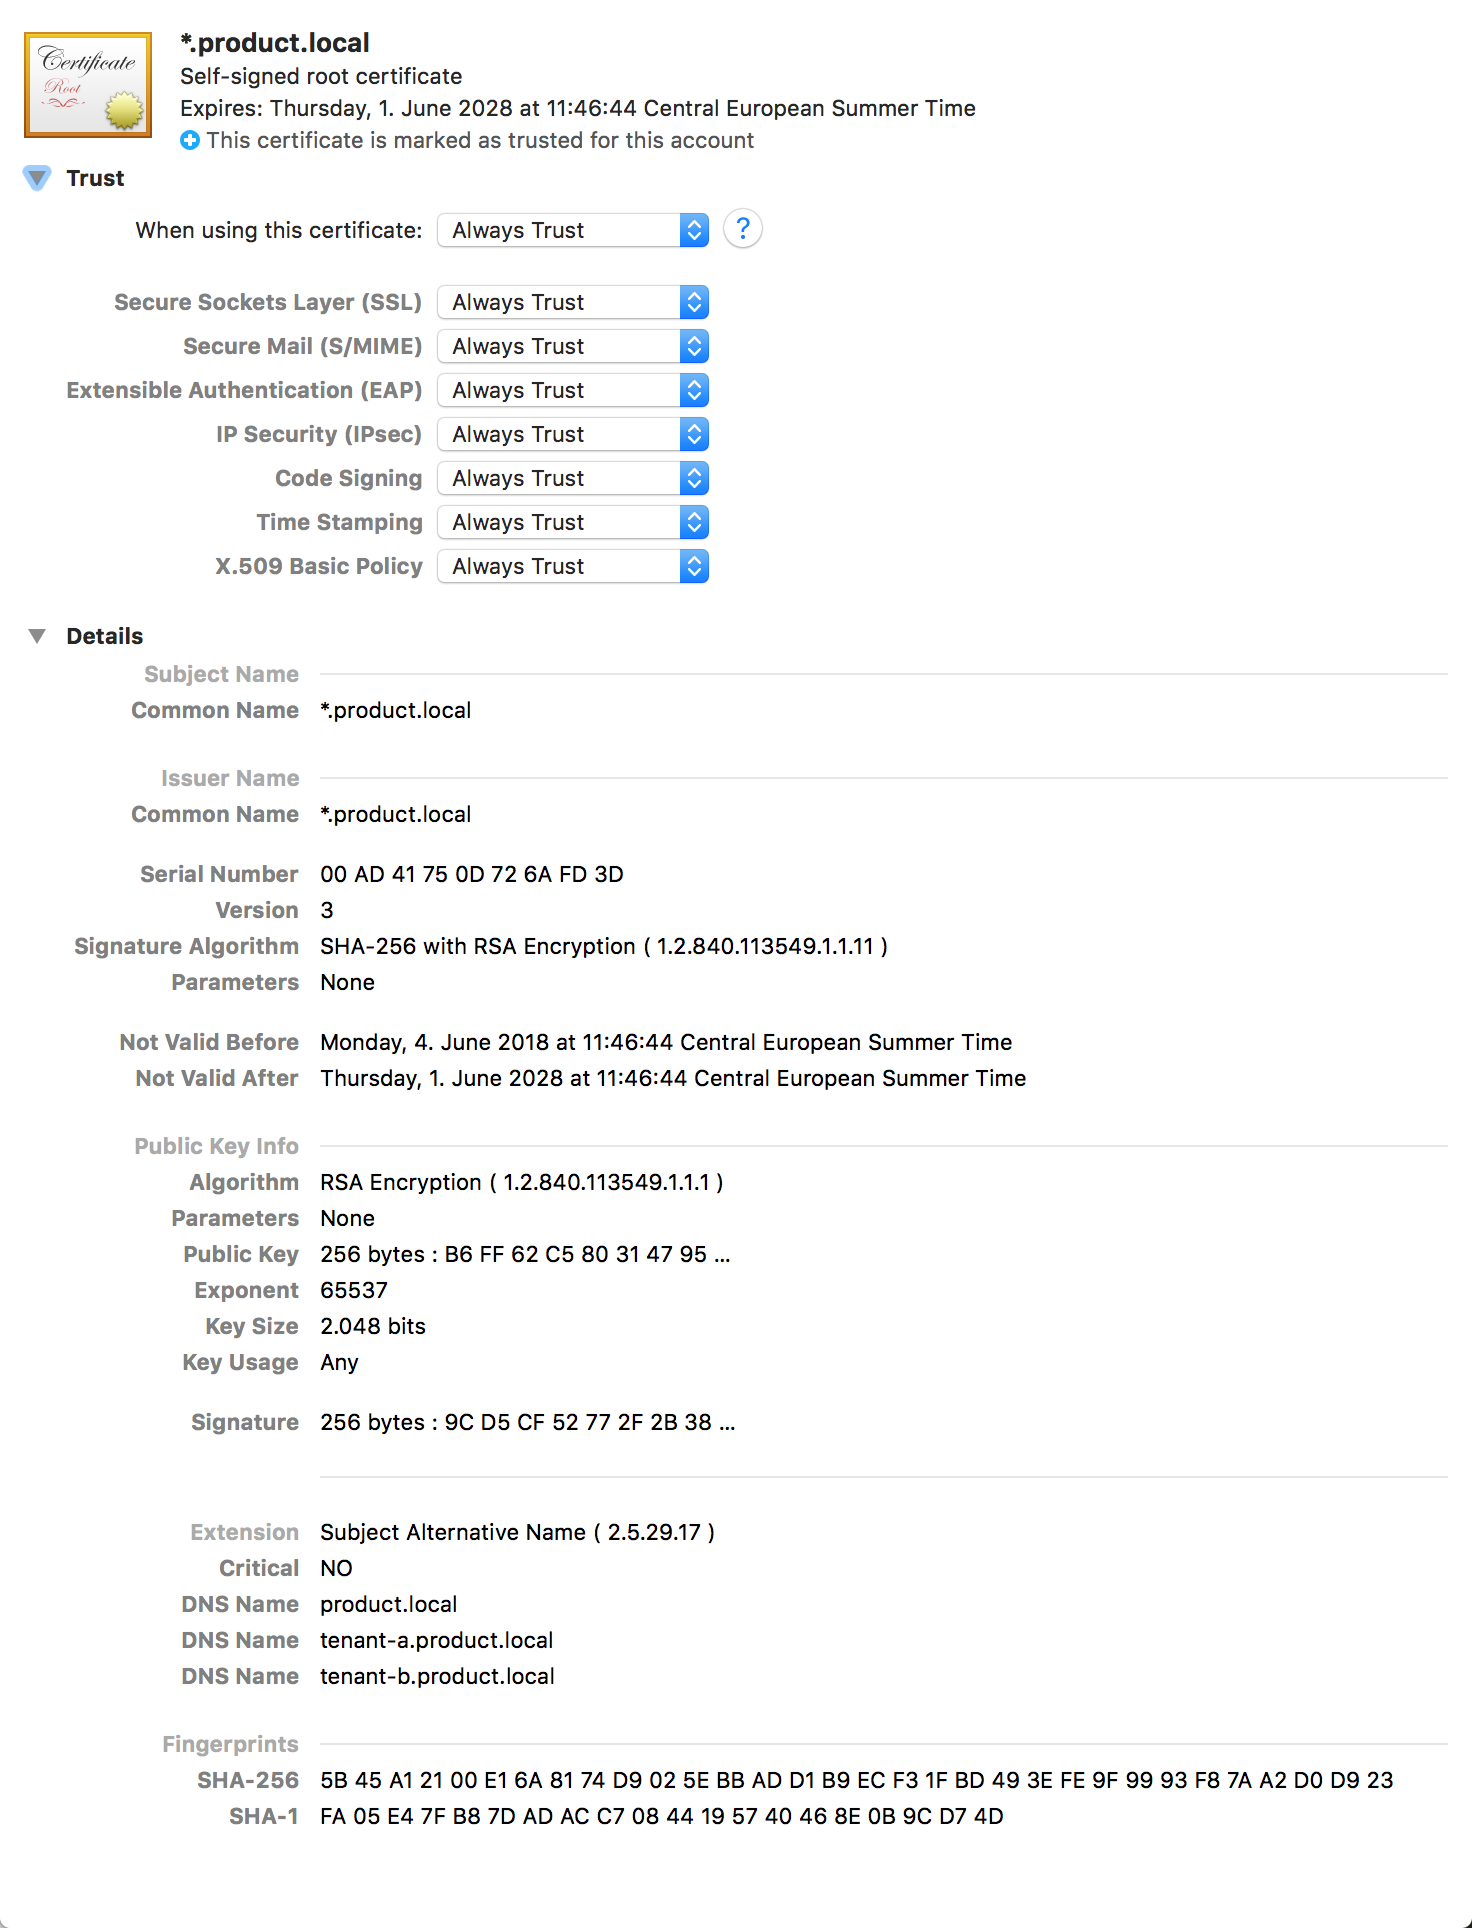
On macOS, you need to add the server.crt file to Keychain Access.
To do so, open Keychain Access and drop the file into it.
After that, you need to trust the certificate.
Double click it, open the Trust section and set When using this certificate to Always trust.
Important: Close the window otherwise the setting will not be applied.
For other operating system, just do a quick search how to add a certificate for it.
Use the certificate in an ASP.NET Core development environment
Again, the shown solution here is only for development purposes, since it will expose the certificate password into the source code (and therefore likely into your source control system).
At first, copy the server.pfx into your project and set Copy to output directory to Copy if newer:
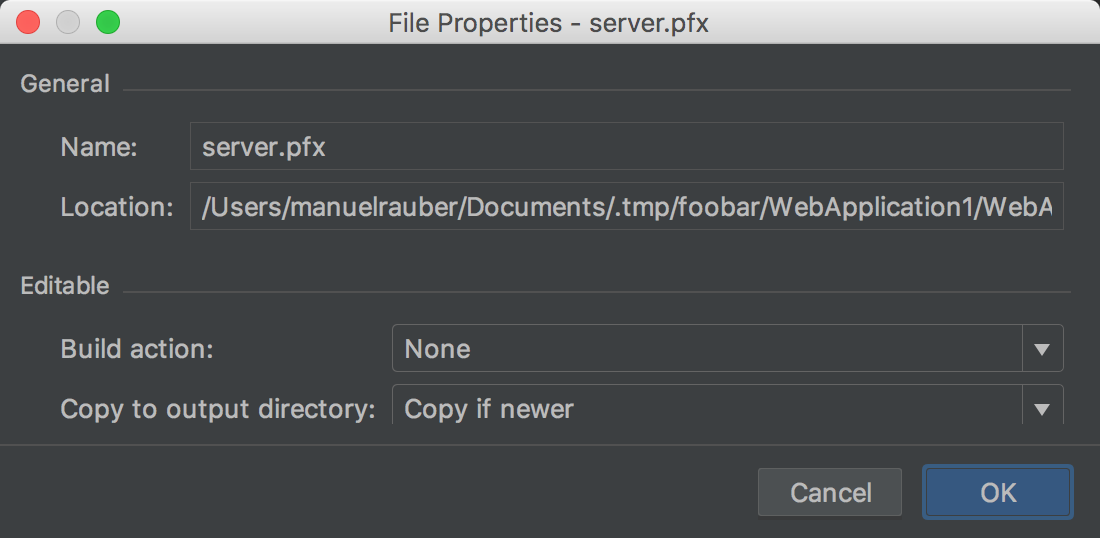
The screenshot is from JetBrains Rider, but it should be similar to other toolings.
Open the Program.cs of your project, find the method CreateWebHostBuilder and add the UseKestrel part:
public static IWebHostBuilder CreateWebHostBuilder(string[] args) =>
  WebHost.CreateDefaultBuilder(args)
    .UseKestrel(options =>
    {
      options.Listen(IPAddress.Loopback, 5000, listenOptions =>
        {
          listenOptions.UseHttps("server.pfx", "thinktecture");
        });
    })
    .UseStartup<Startup>();
There are tons of options how to load the certificate.
For my development need here, I just used the easiest one: loading it via file and directly providing the password. Then start your API as you are used to and enjoy working with local URLs.