Supercharge your ghost.io blog with CloudFlare


Intro
As you may noticed I switched my blog over to ghost.io. My colleague and friend Thorsten has a nice blog post about the reasons which I highly share. Writing posts and creating templates is so much cleaner, I just like it. :-)
Okay, back to the topic: Supercharging your ghost.io blog with CloudFlare. Since you already (or now) know, what Ghost is, what the heck is CloudFlare? CloudFlare provides a CDN, DNS, Security, Analytics and Optimization service. With all that, they can really supercharge your website utilizing their 76 data centers across the world. The best thing is, they have a free plan which is more than enough for a little blog. Oh, and I almost forgot: You can get SSL for free.
Before we start, here are two images before and after using CloudFlare:
Before CloudFlare

After CloudFlare

The tests are done using WebPageTest.org executed from their data center in San Francisco using Chrome and 9 test runs. As you can see, before using CloudFlare the first view took about 3 seconds and the repeat view about 1.4 seconds. After CloudFlare we have 1.2 seconds for first view and 0.8 seconds for the repeat view. That's a nice speed gain! And I haven't enabled all performance optimizations from CloudFlare. :-)
Unfortunately, I don't have the images for my old WordPress blog, but using the same tests the first view took about 5 seconds and the repeat view about 3 seconds. After CloudFlare the first view went down to 2 seconds and the repeat view to 1.5 seconds. Amazing!
Let's start!
Before starting at all I really recommend a tool like WebPageTest.org to measure your current speed and may get a boner after we are done activating CloudFlare. ;-)
CloudFlare initial setup
To start, you need to check that you
- have a custom domain and
- have access to your DNS and nameserver settings for your custom domain.
Without, you will not be able to use CloudFlare. :(
Now go ahead and create a free CloudFlare account. After that, you can add a site by entering your domain name.
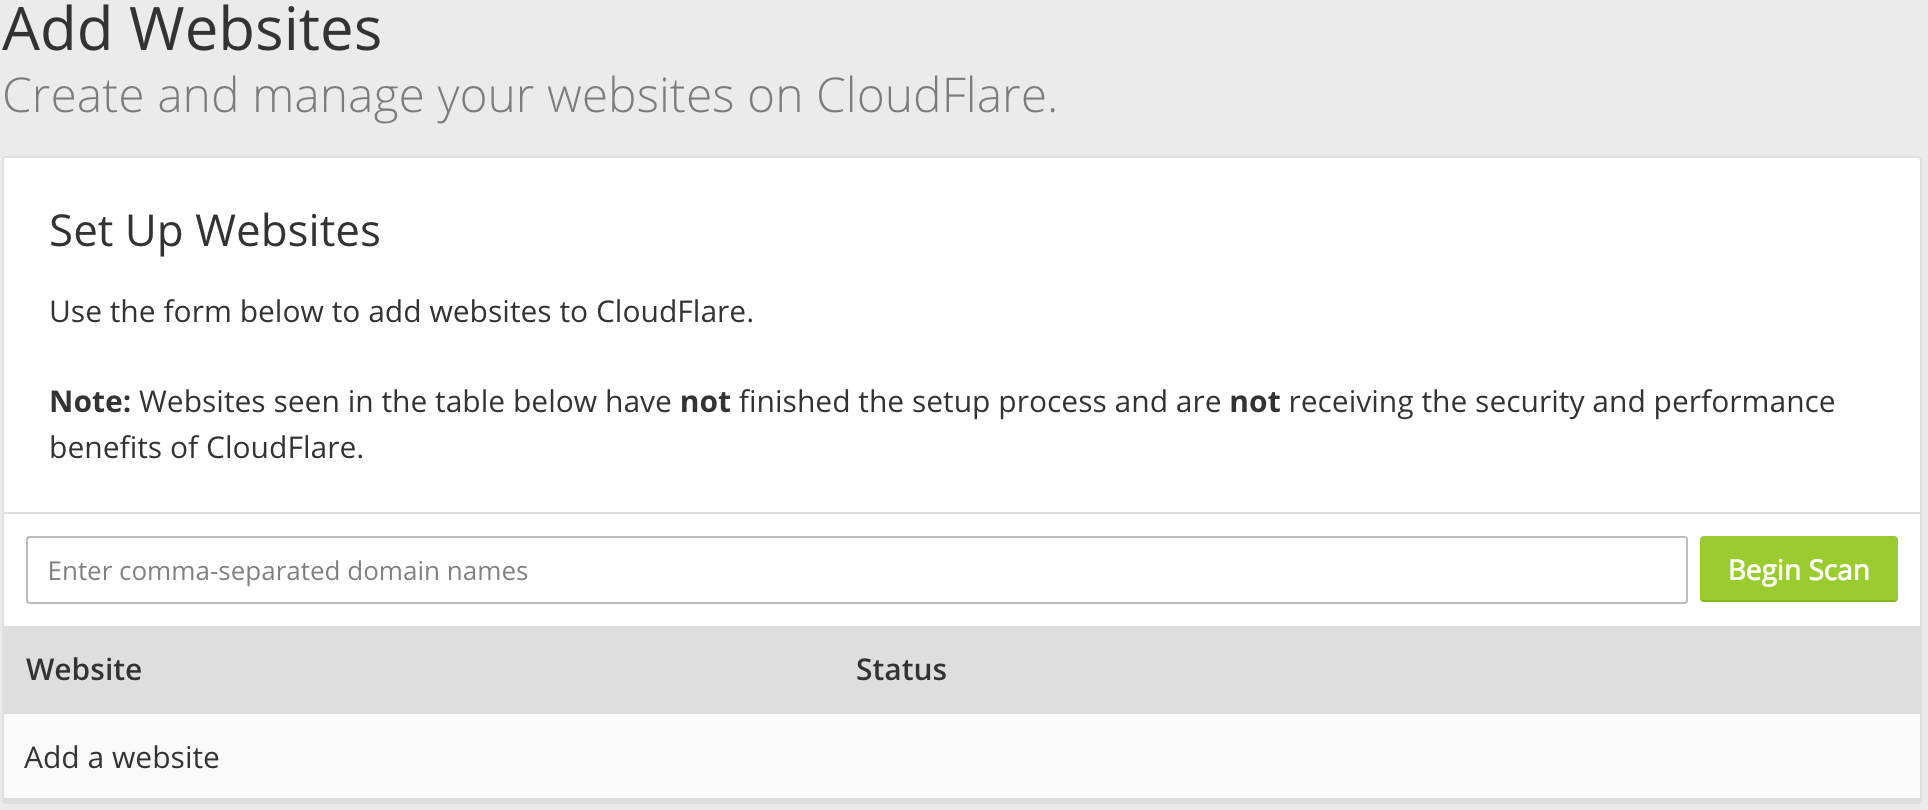
They will scan your current DNS settings and when they are done, click on the green Continue Setup button. They will show you an overview about the DNS settings they've found out. You may need to double check them and add or remove some entries to suit your needs. If you are happy, click Continue, select Free plan and click Continue again. CloudFlare shows you now where to point your nameservers to.
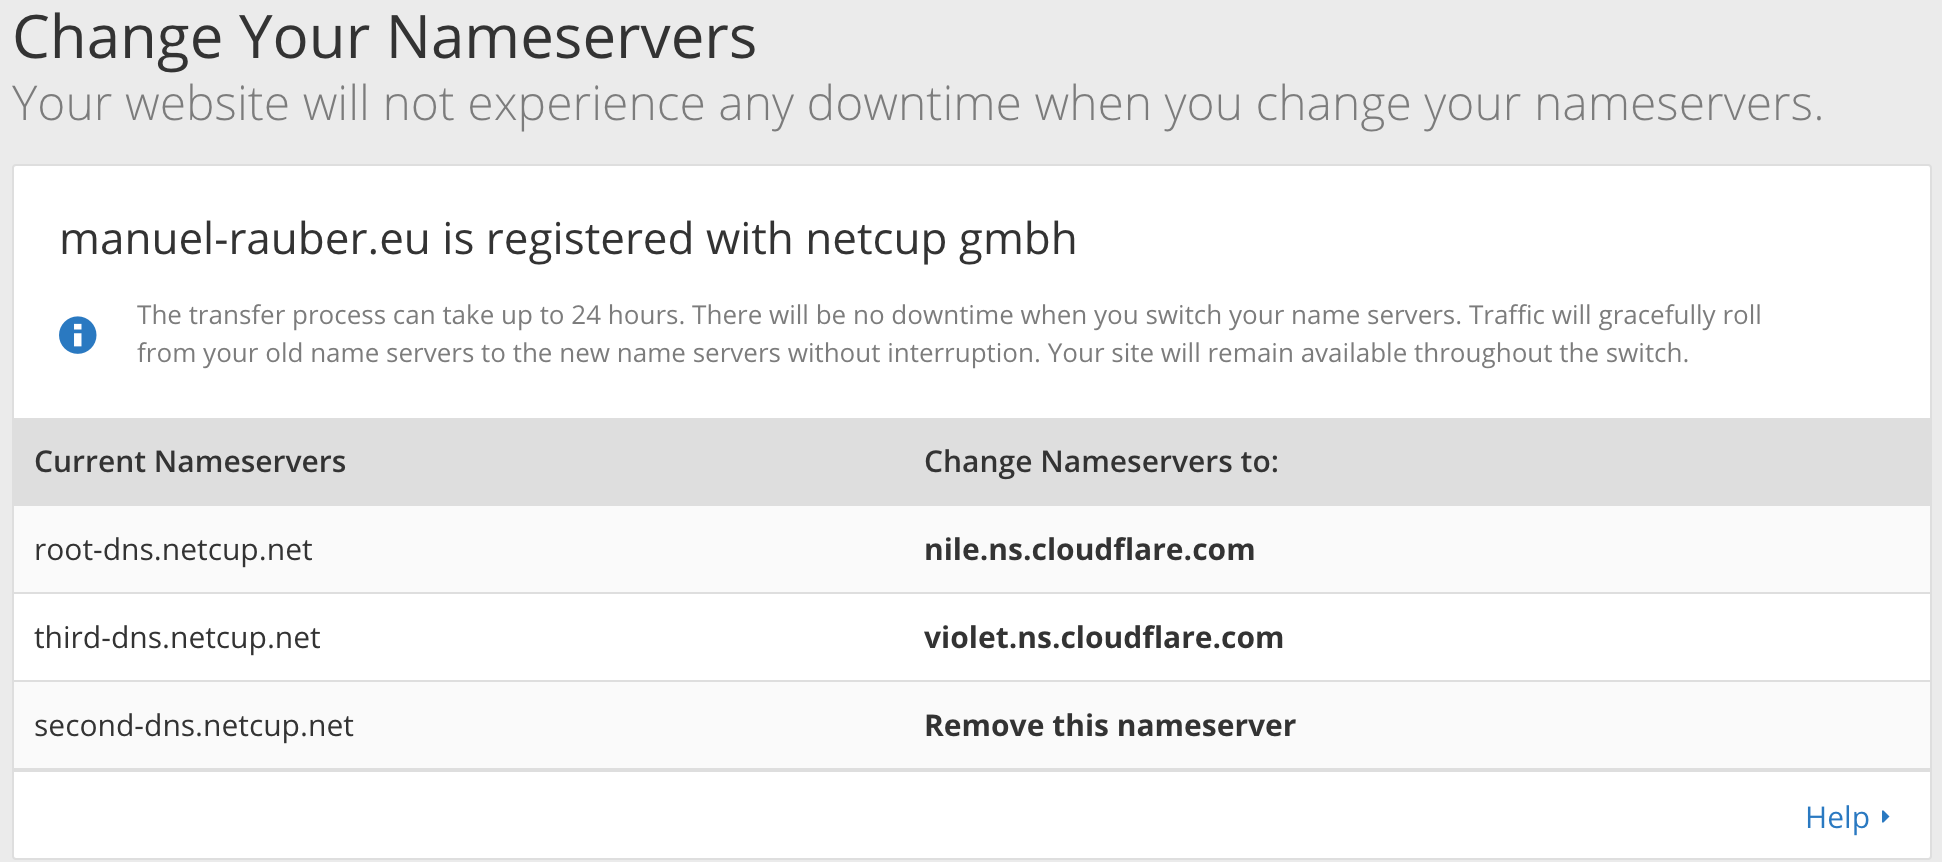
(That's the only image showing my .eu domain instead of .com. I didn't want to delete all my settings for manuel-rauber.com to get a screenshot with the correct top level domain.)
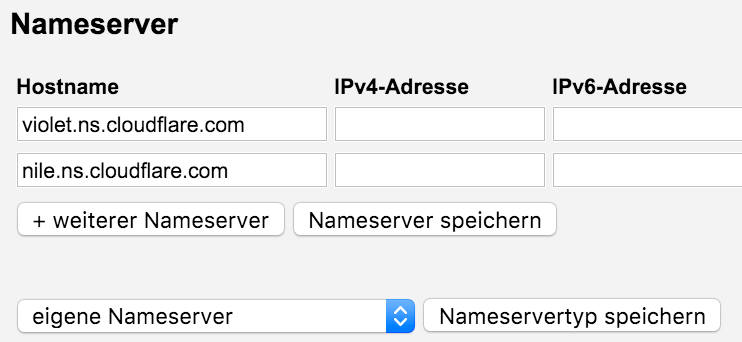
My domains are hosted at netcup, so I need to login into their control panel, and change the nameservers as CloudFlare told me.
If you have done this step, you can click Continue once again at CloudFlare and finish the initial setup. Since the nameservers and DNS entries are changed, it could take up to 48 hours to complete. Be patient. :-)
After the 48 hours waiting time, CloudFlare is now controlling your DNS settings meaning that all other changes will now be set instantaneously. You'll never have to wait again for DNS settings changes. ;-)
Ghost setup
We can now proceed setting up Ghost. Head over to ghost.io, login and click that neat little cog icon for your blog settings.

If you haven't done there anything yet, the input for the custom domain and the force SSL checkbox are not set yet. Type in your custom domain name and tick the force SSL checkbox.
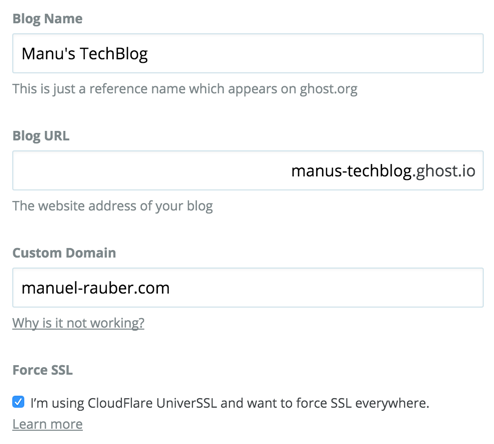
Click Save all blog settings and don't panic! Your blog will probably not be reachable now, since we changed some important settings. But nothing to worry about, we are not done yet. :-)
Btw. there are two methods for using a custom domain. Either use the root domain directly or use a www or blog subdomain. Since I highly prefer the root domain, this blog post describes this method only. You can head over to the support section of Ghost, if you want to use the subdomain method.
CloudFlare - Making The Blog Working Again
DNS settings
Let's get back to CloudFlare, we need to change some DNS settings. To do that, just click the little DNS icon at the top of the CloudFlare navigation.
You may need to remove A, AAAA or CNAME records for your domain or "*" at first, before you can set up the correct one's. You need to add two CNAME records:
- Name: your domain name (manuel-rauber.com in my case) which has the value of your internal ghost.io domain (manus-techblog.ghost.io in my case)
- Name: www which has the value of your domain name.
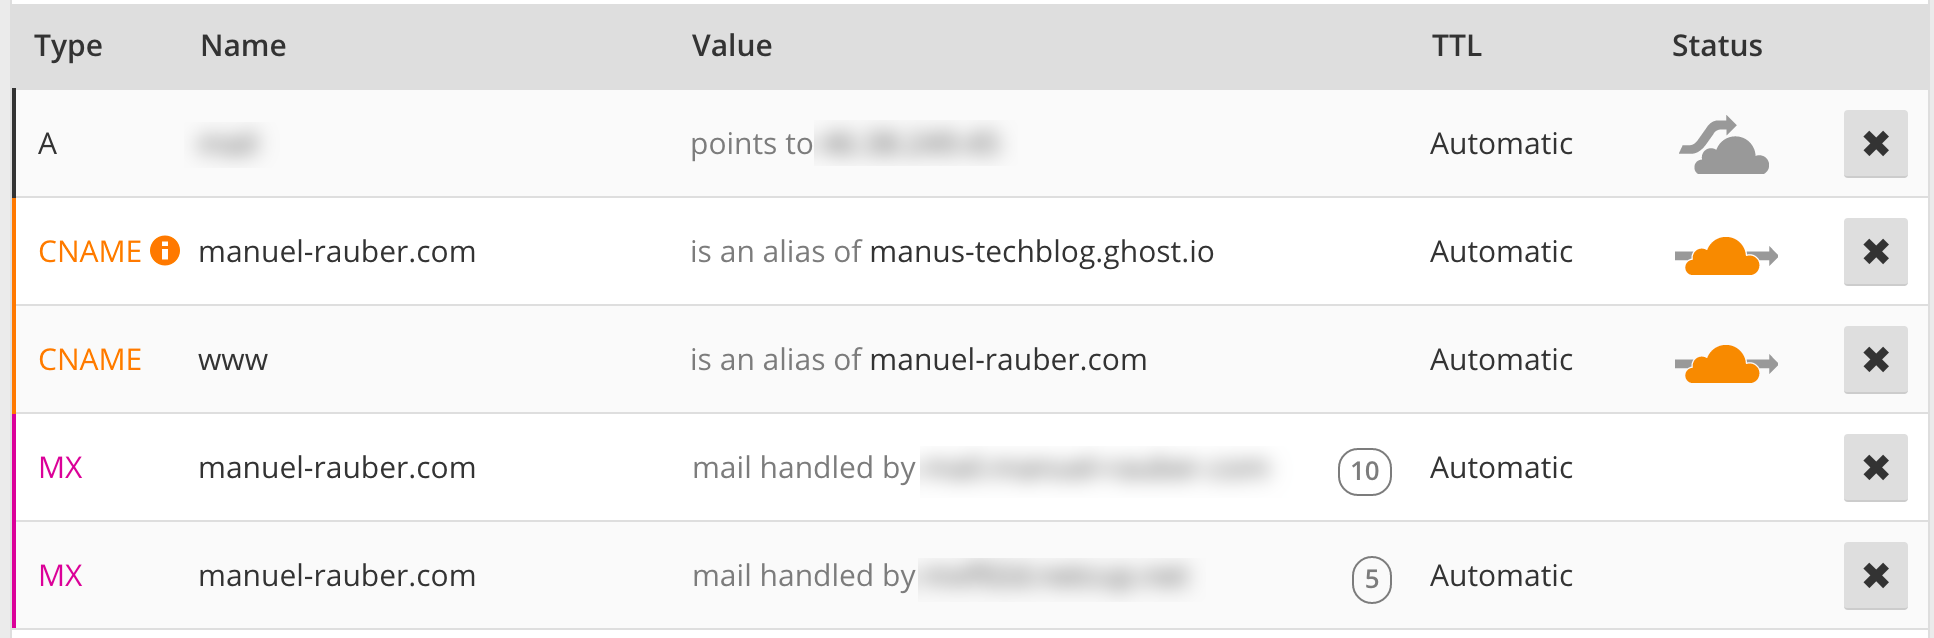
They are needed to let your blog be reachable via root domain and www subdomain. Double check, that for both CNAME records the orange happy little cloud is activated, so CloudFlare will route every request through their system. If everything went well so far, you should be able to access your blog via https://yourDomain.tld, but not via https://www.yourDomain.tld yet. We are going to change this now.
Page Rules
Head over to CloudFlare's Page Rules via the navigation bar. Fortunately the free plan grands three Page Rules, which are exactly enough for us. We will create two new Page Rules now.
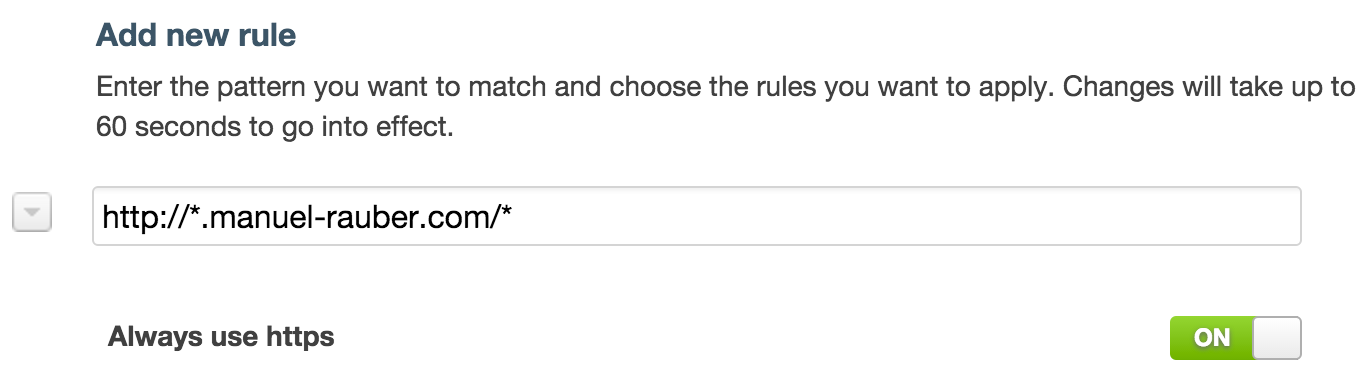
Rule: Always use HTTPS
You may remember you activated the force SSL checkbox in Ghost's settings. This is for Ghost's internal redirect, if someone access your site without HTTPS. But for using the custom root domain, we need CloudFlare to redirect to HTTPS.
To do so, type the following rule into the input box: http://*.yourDomain.tld/*. Then activate the Always use https button. The screenshot below shows my setting. Click Add rule.
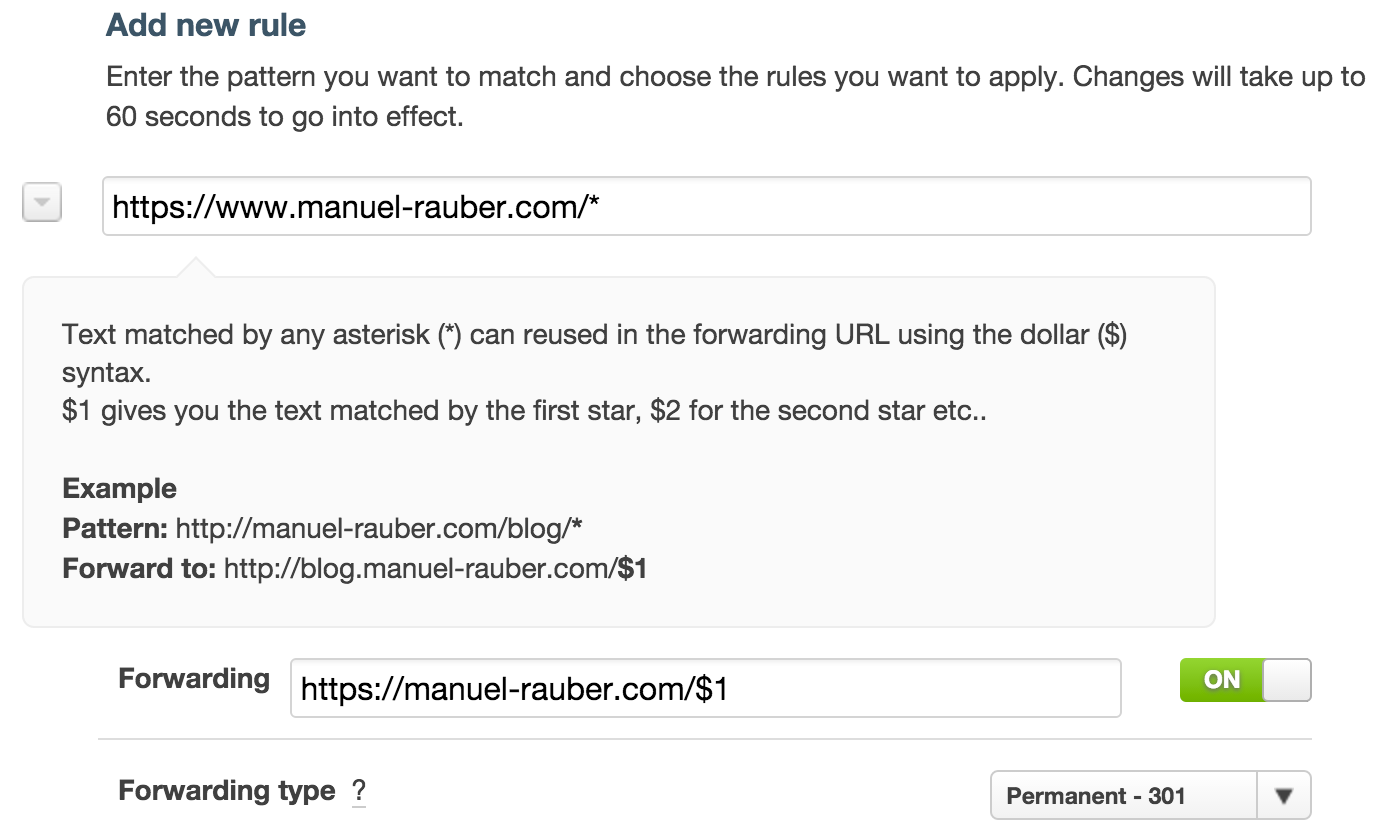
Rule: Redirect www subdomain
A lot of users are still used to go to www.some-domain.tld and you want to have those to get to your site. That's why we are going to create a rule, which will forward them to your blog.
Type the following rule into the input box: https://www.yourDomain.tld/*. Then activate the button Forwarding. Another input box will appear. Put https://www.yourDomain.tld/$1 in it and change the Forwarding type to Permanent - 301. The screenshot will show you my settings.
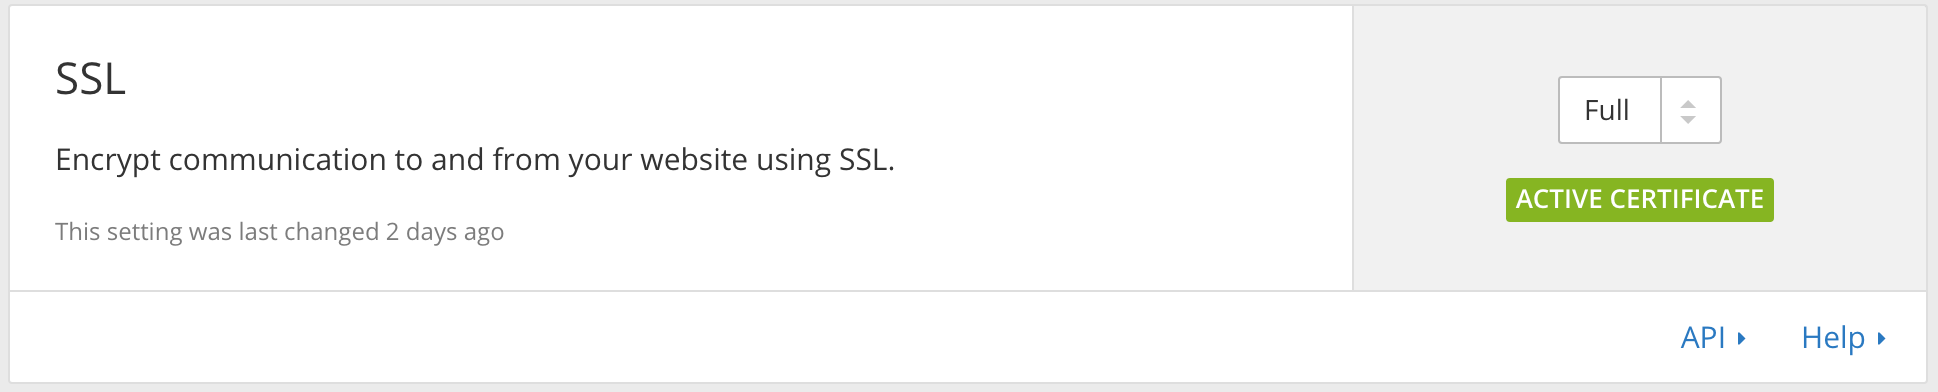
SSL settings
Last but not least, we need to change the CloudFlare's SSL settings. Go their by clicking the Crypto icon. Then change the SSL settings to Full.
Okay! We have now finished all the DNS changes. Your blog should now be reachable by
They will all go to https://yourDomain.tld. If so, nice! You are now in favor of CloudFlare's 76 data centers. Without doing anything, your site should be (a bit) faster right now.
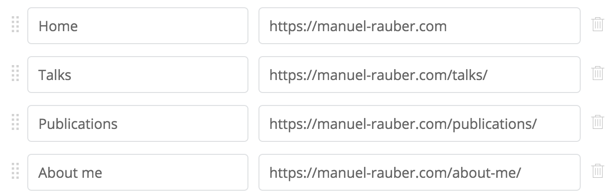
Don't forget! You maybe need to change some internal URLs in Ghost's admin center like the navigation or internal blog post references.
Supercharging even more
Minification and rocket loading
To supercharge even more, go to CloudFlare's Speed settings. You can activate Auto minify and the Rocket Loader.
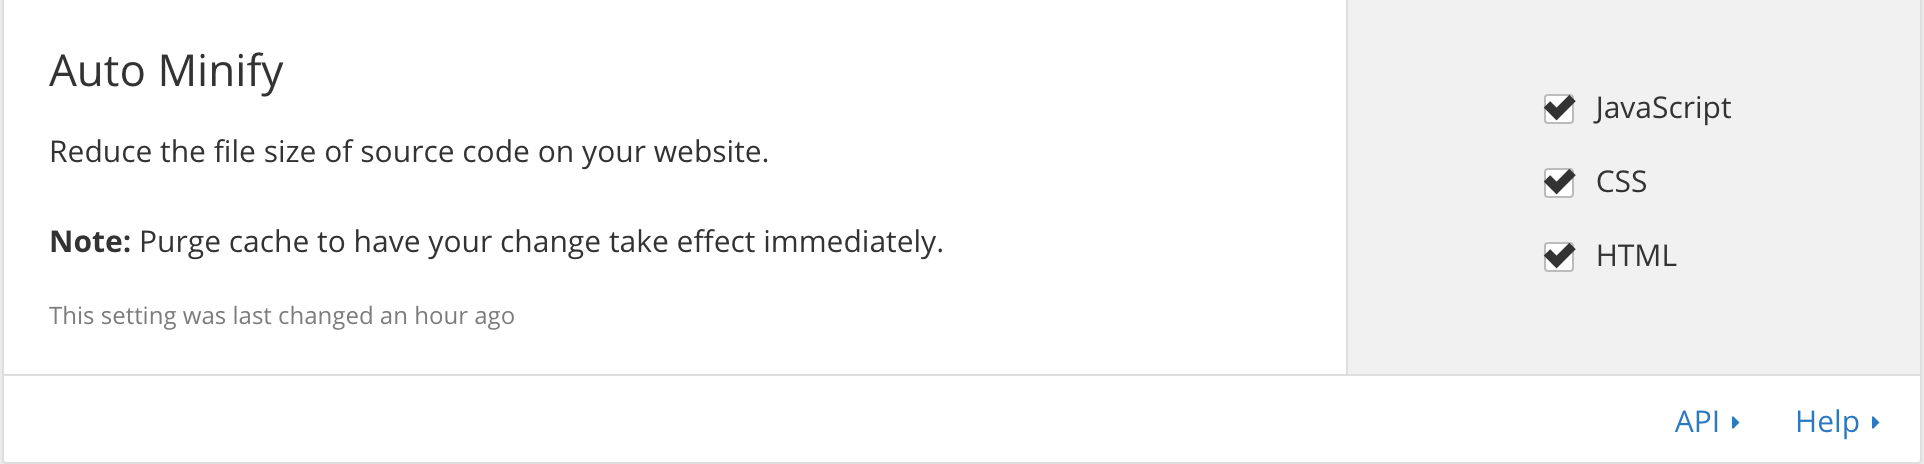

By now, CloudFlare will speed up the things you just selected and cache all media files, but - by default - it will not cache HTML. Yet. ;-)
HTML caching
This is an optional step, but will further improve page speed.
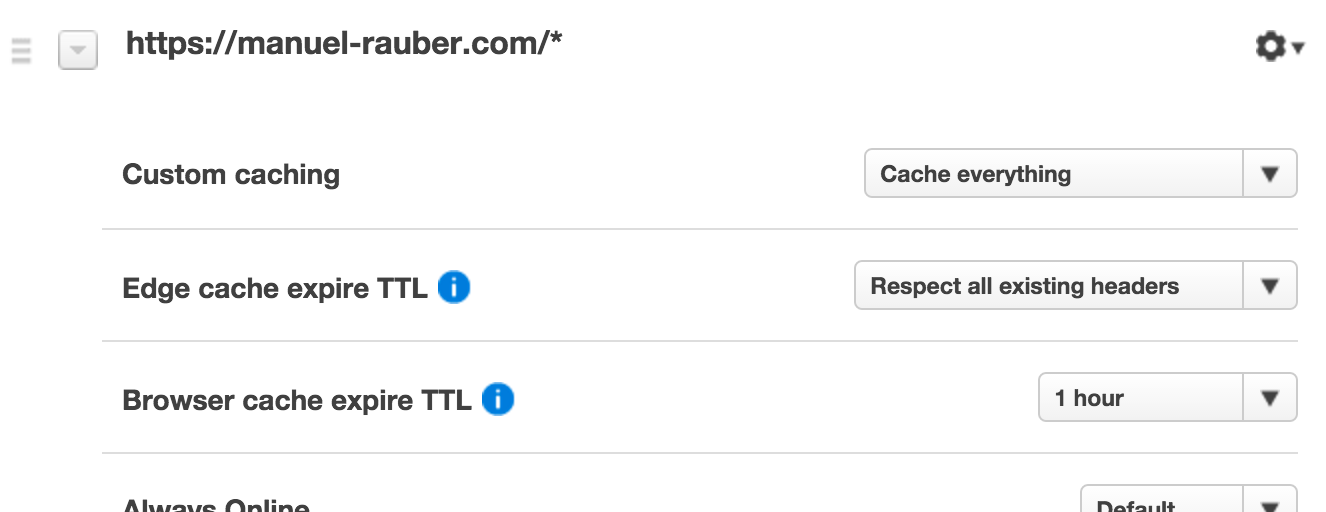
To activate HTML caching, we are going to use your third - and last - Page Rule. Head over their and type the following into the input box: https://manuel-rauber.com/*. Then change Custom caching to everything. You may want to change Browser cache expire TTL, too. For me, I changed it to 1 hour, so after one hour, your browser get's fresh content, otherwise it will show you cached data. Click Add rule.
Be aware now, that CloudFlare will cache your page for your browser as long as you selected the Browser cache expire TTL. If you publish a new post, it will not be shown on the front page! Same goes with edits to a post, after you have viewed it once. And no, cleaning your cache will not help, since CloudFlare still holds a cached page for you. Most of the time, this is not a problem and a wanted behavior.
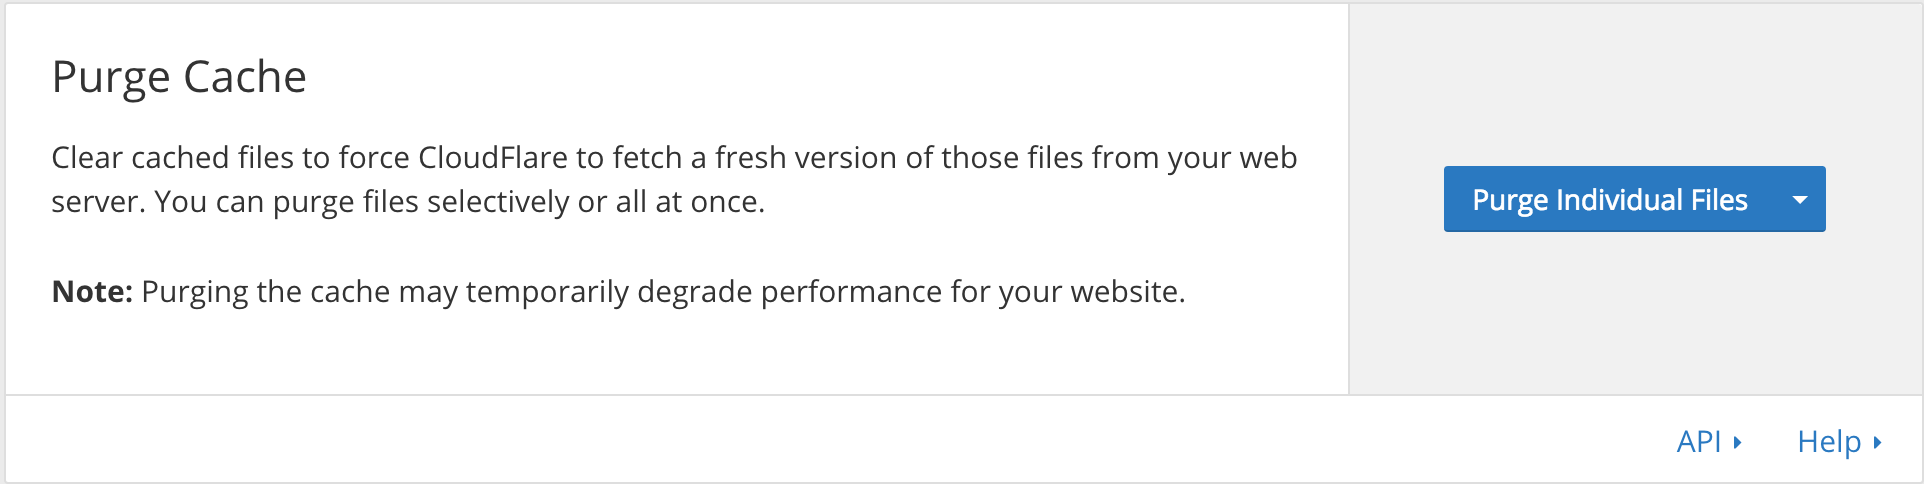
But if you need to clean the CloudFlare cache, to get a latest and greatest changes, you can head over to Caching. A little blue button there is going to be your friend: Purge individual files. If you click on that little arrow, you can select Purge Everything which will delete the complete CloudFlare cache.
To purge the cache for your front page, click Purge individual files and type in https://yourDomain.tld and click the little blue button again. It takes CloudFlare up to 30 seconds, but then you will get a fresh copy.
Since the hosted Ghost blog currently does not allow adding plugins, this is a manual process (or patience time to wait for cache expiry). If we can get a plugin infrastructure on ghost.io one day, that would be a great add on.
Guess what? We are done! Your site is super fast now. Go ahead and check your WegPageTest.org results, rub your eyes and check the results again. Yes, it is that fast.